

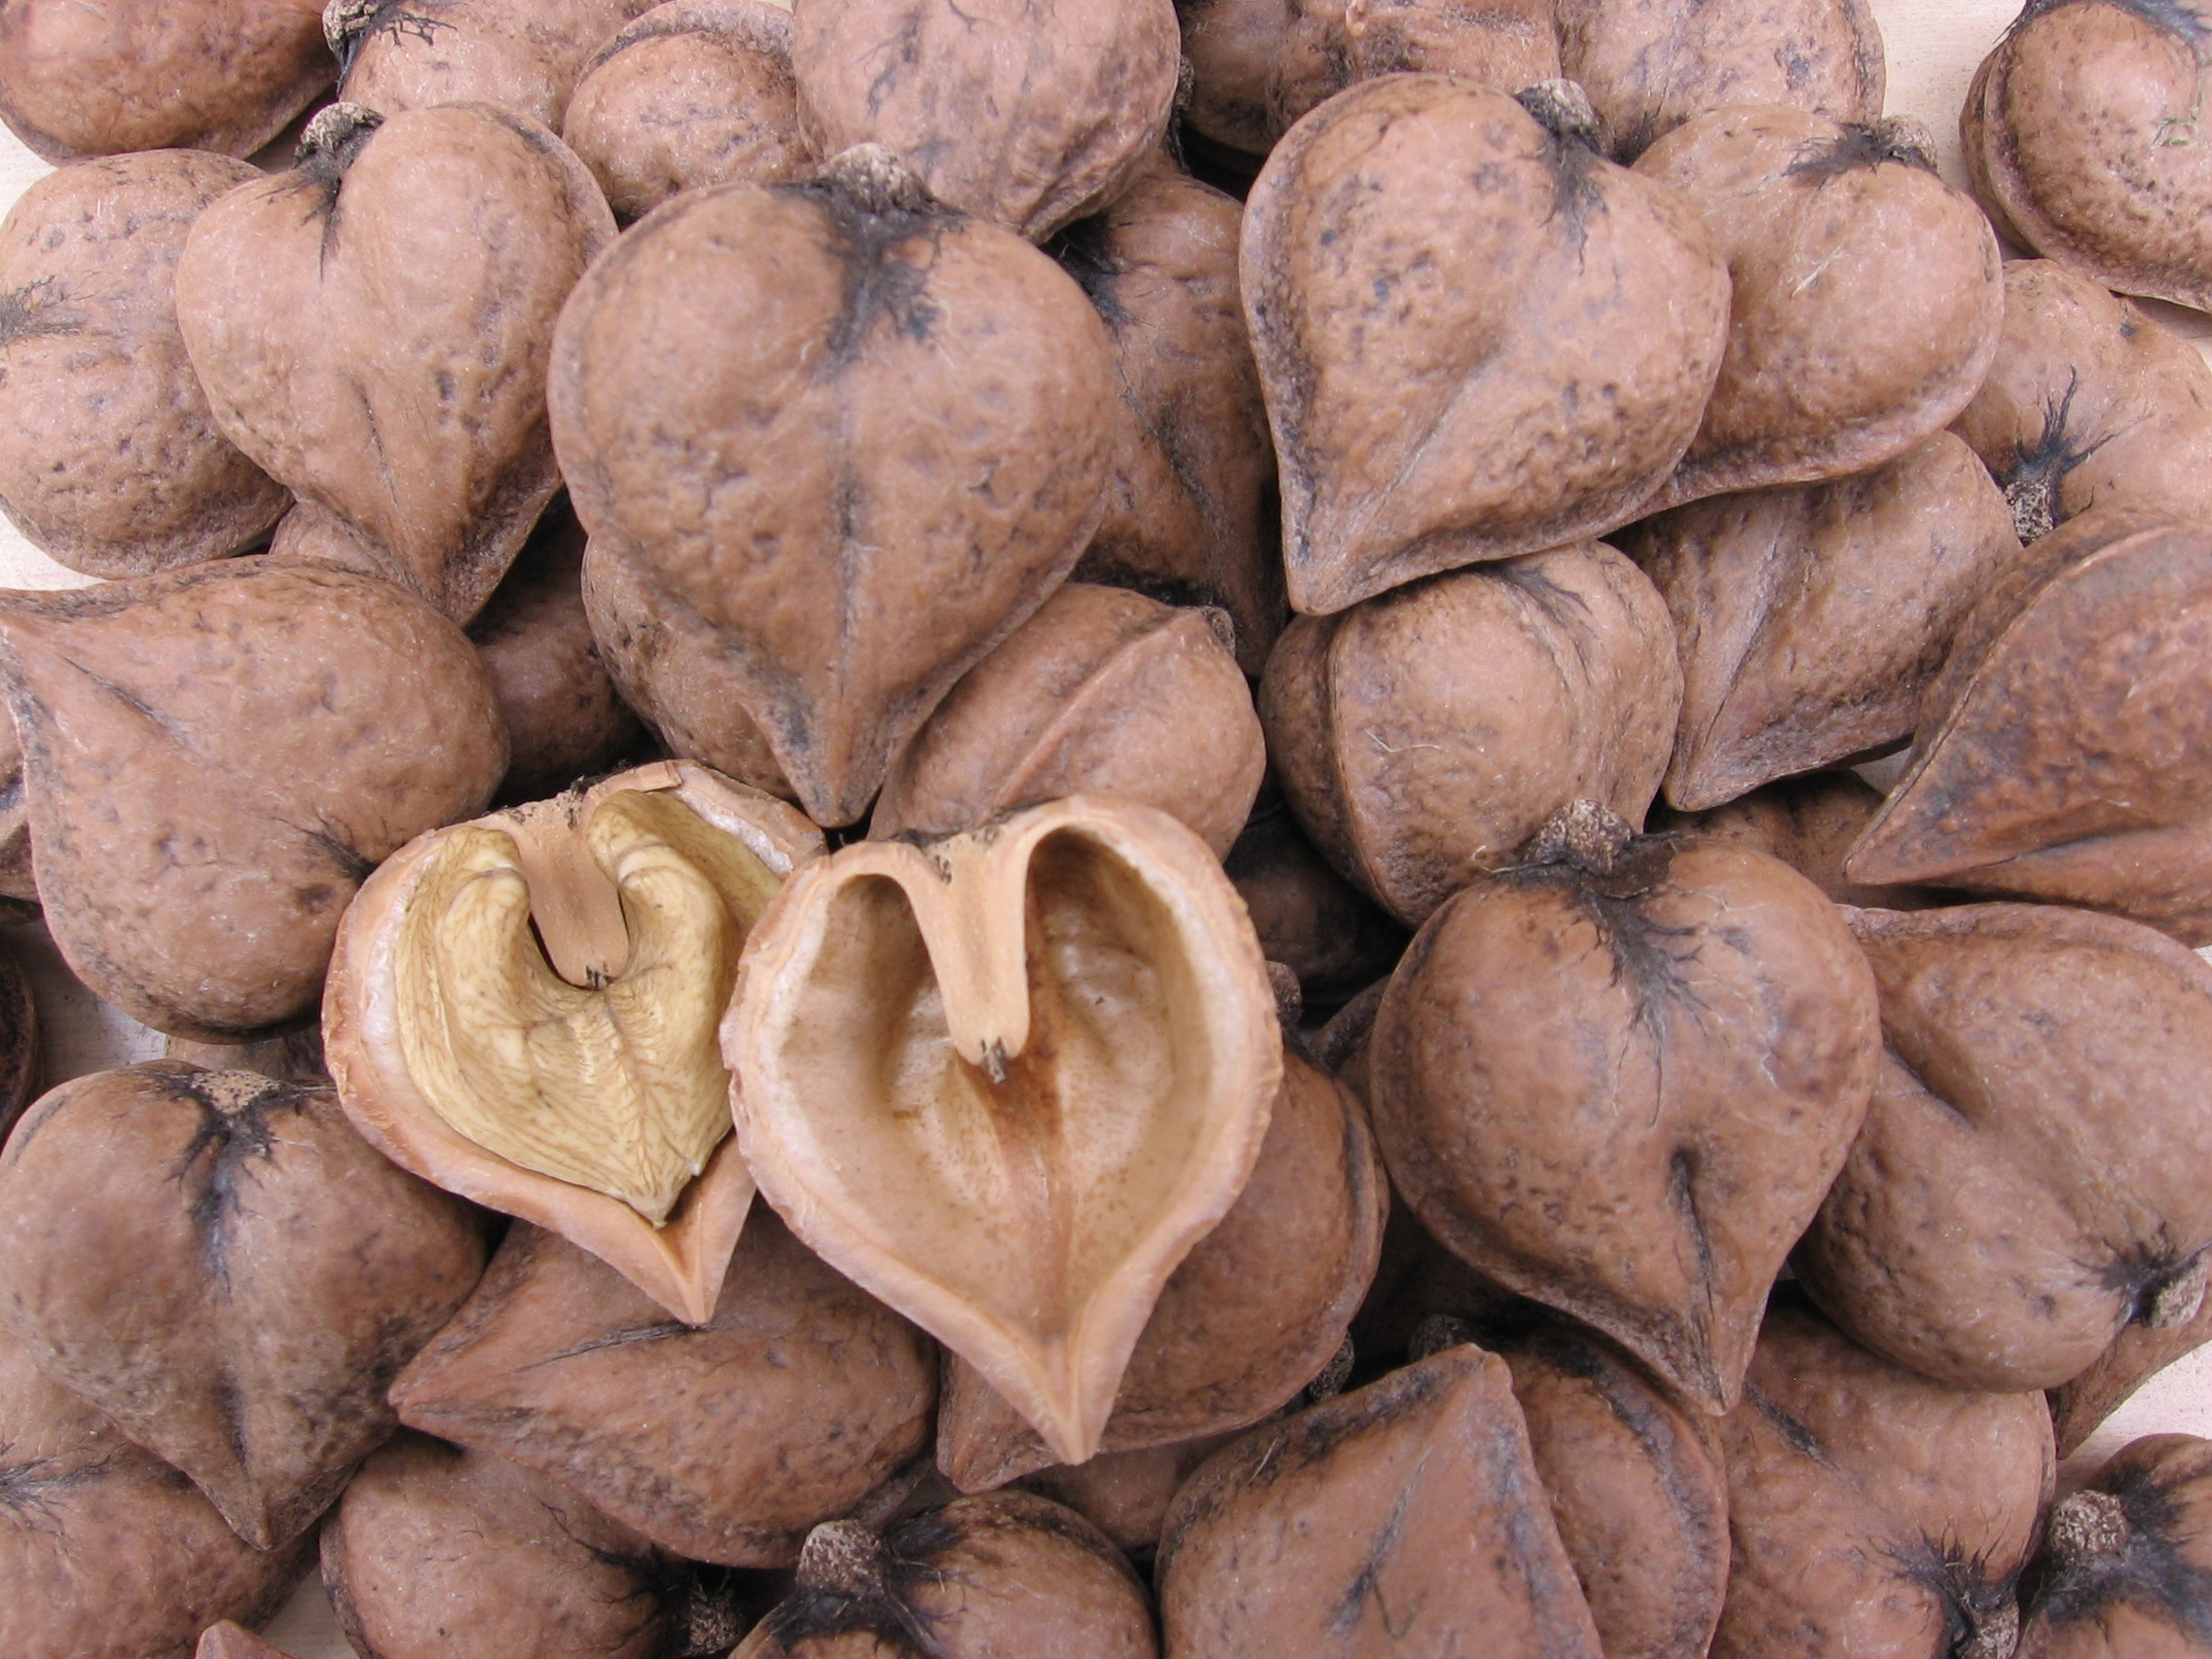
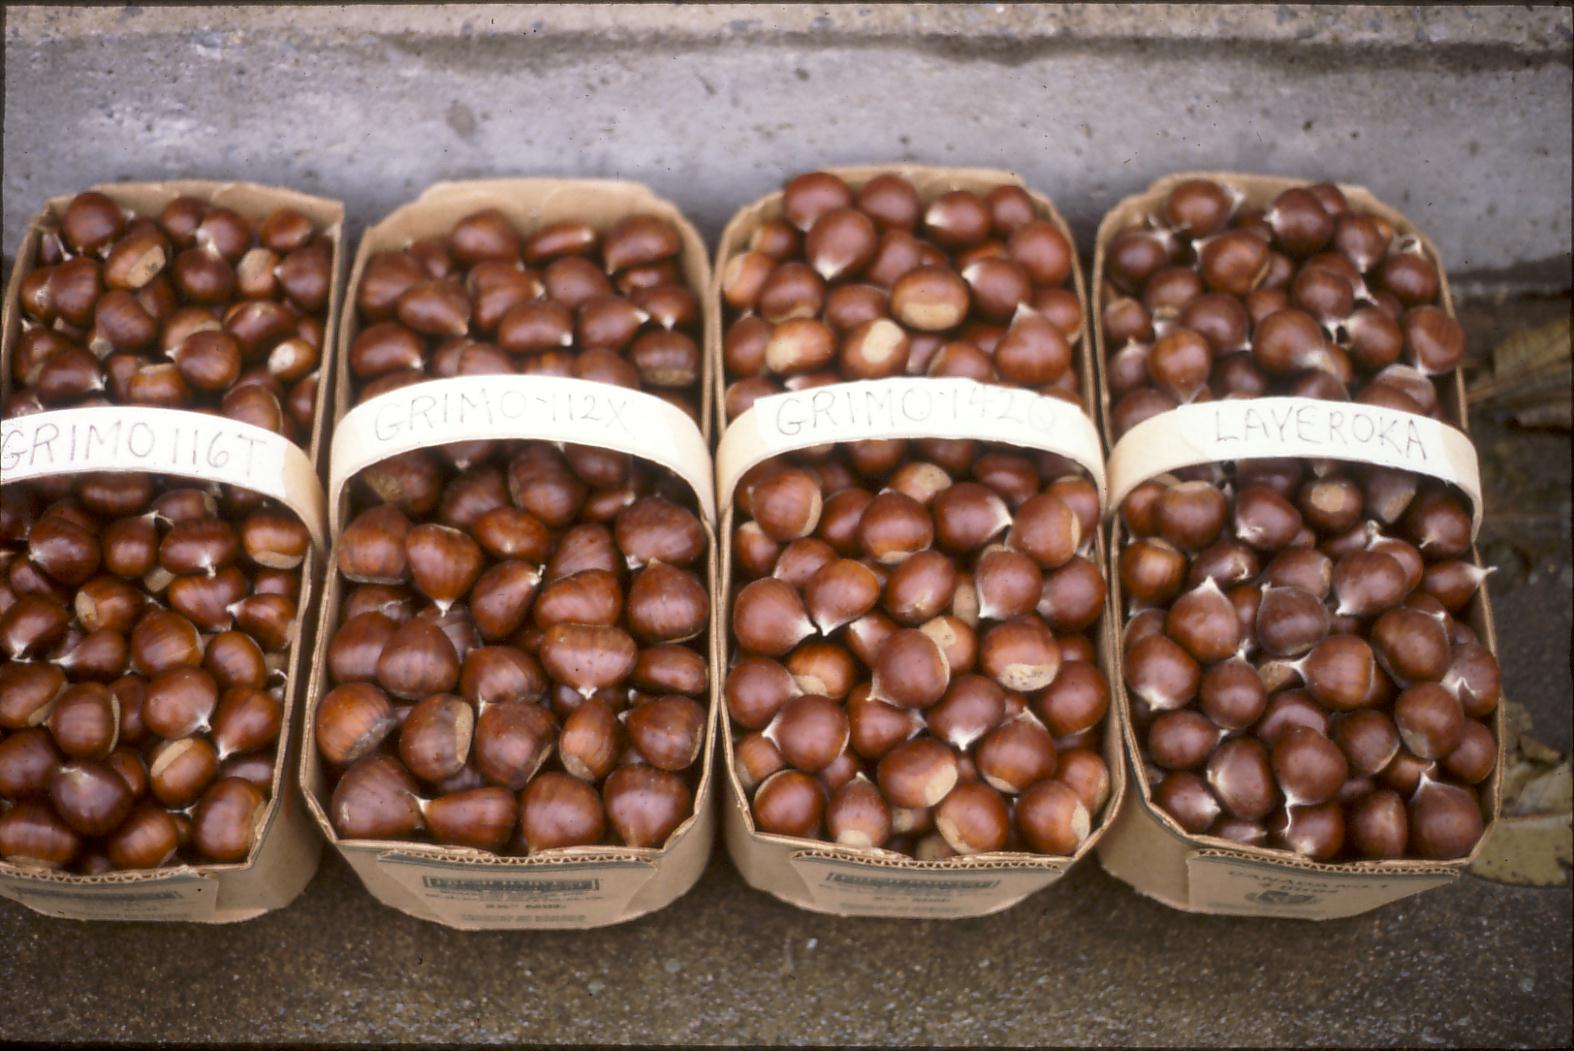
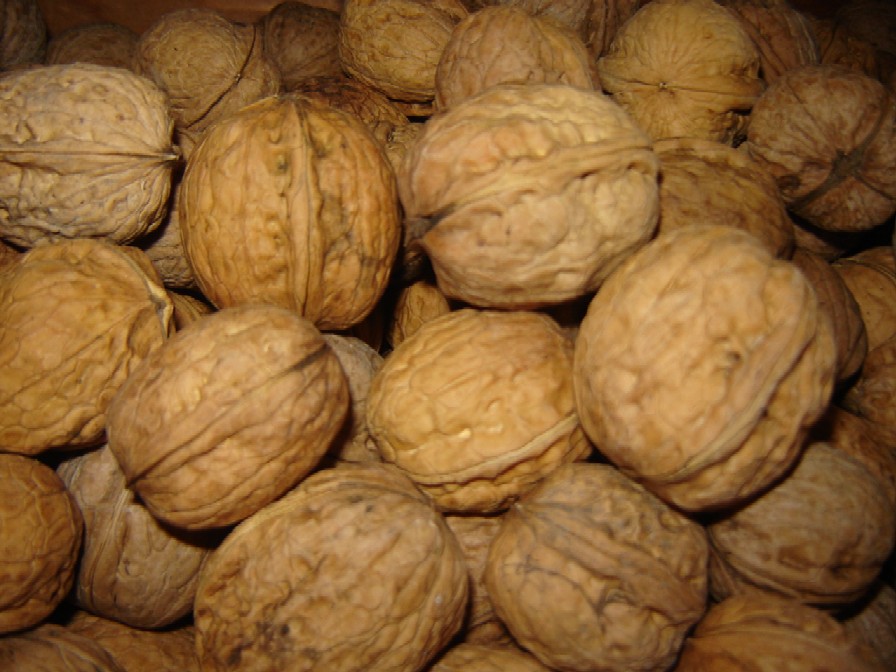
We are please to share with you our Guides for growing commercial orchards in Ontario. Besides the popular hazelnut there is huge demand for Ontario grown heartnuts, chestnuts and walnuts. We can't supply our customers with enough of these delicious Ontario grown nuts.
Establishing a Nut Orchard
For specific crops, also visit “Hazelnut Farming” tab on the top bar of the home page.
Climate, Site and Soil
The first priority in developing a successful nut orchard is to determine that the climate, site and soil are suitable for the crop you are trying to grow. 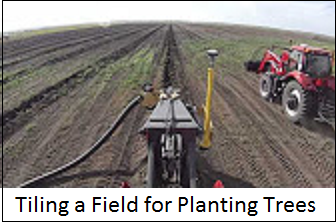
The climate should be within the climatic zones suggested for the tree, preferably protected from late spring frosts. If you are not sure of your climate zone, go to the “Climate Zone Chart” tab at the top of the home page.
The site should be gently sloping, well-drained and without low spots or frost pockets. While hillsides may be attractive planting sites for timber trees, steep slopes are not easy to maintain for nut harvesting purposes. If tile drainage is necessary, make sure that an appropriate outlet is available to you. Plan where the trees will go and put in the tiles between the rows of permanent trees. This will prevent the tree roots from getting into the tiles and blocking the drains. Tile contractors can be a year behind in getting to your job, so planning ahead is essential. It also helps to order trees a year or more in advance for large plantings.
The soil should be a loamy sand or clay. Check with you agricultural experiment station for information on your soil type and do a soil test to find out what nutrients are needed. The soil test will determine the pH of the soil. Most nut trees prefer a near neutral pH of 6.5-7.0. Chestnuts and pines prefer a lower pH of 5.5 to 6.0. To raise pH add agricultural lime and to lower the pH add agricultural sulphur. It is harder to lower the pH than to raise it so reconsider the crop for your site if it is not easily adjusted.
 Plough in your soil needs, particularly phosphorus, in the form of superphosphate (0-20-0) or similar before you plant, as this nutrient moves down in the soil very slowly when only applied to the surface. Alternatively, add a handful of superphosphate or bone meal to the planting soil when the tree is planted, provided your soil test indicates that this element is low. These products will encourage root growth and will not burn the roots. Do not use a blended granular fertilizer mix as this will burn roots.
Plant a cover crop the year before, if possible, to add organic matter and to enrich the soil. In preparation for planting, plough down the cover in the spring, disk and harrow, pick rocks, etc. A fairly smooth surface is important for orchard management especially for harvesting.
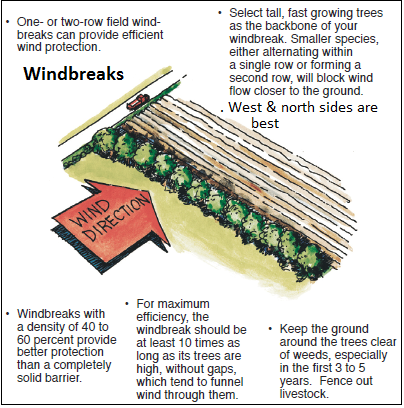
At the earliest possible time, plant shelter belts on the prevailing wind directions that in Ontario are the north and west sides of your fields. Strong winds will affect the growth of your trees. The healthiest tallest trees will be closest to the windbreaks. It may seem that land is being wasted but this is not the case.
At the earliest possible time, plant shelter belts on the prevailing wind directions that in Ontario are the north and west sides of your fields. Strong winds will affect the growth of your trees. The healthiest tallest trees will be closest to the windbreaks. It may seem that land is being wasted but this is not the case.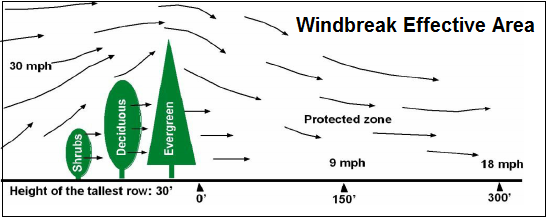
That means when a 50-kilometre-per-hour wind hits a 10 metre high, medium-density windbreak, wind speed is reduced by at least 10 kilometres an hour for a distance of up to 200 metres. More information is available on line to assist with tree species and the most effective way to plant windbreaks.
Planning Your Orchard
Decide on the spacing of your trees and measure, then mark out the planting sites being sure that no rows are too close to field tiles. This can vary according to the species being planted and the overall planting goals.
After cultivating the field and preparing the soil for planting, you will need to mark the tree spaces in advance. This is an important step in establishing the orchard. Planting helpers need to know your orchard plan in advance so they don’t plant the wrong cultivar or mix up the cultivars in the rows.
Establish how far in from the edge of the field the tree rows will be first, and then mark the four outside corners of the planting, allowing for tractor/harvester turning and other management activities, especially at the row ends.
The most accurate way to lay out an orchard is with a surveyor’s transit and compass or g.p.s. For do-it-your-selfers, the next best way is to prepare a cord or rope with markers (e.g. colored tape) each distance the rows will be apart. Mark a second rope with the tree spacing distance marked on to be used at right angles to the line of rows. Do not use nylon cord- it has too much “give.” Binoculars would be useful to ensure straight lines.
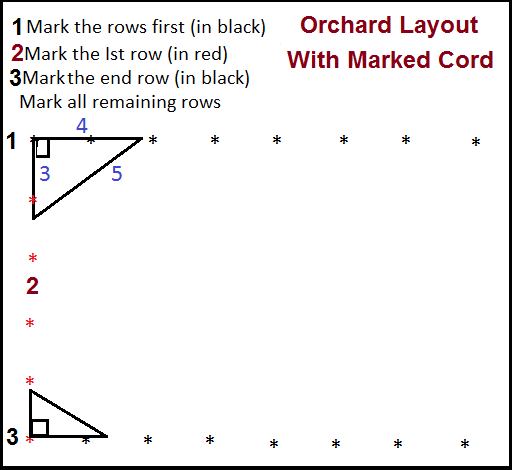
1. Lay out the base line first, marking where each row will go with flags or stakes.
2. Then lay out the first tree row at right angles to the base line ensuring that it is straight and true. The “3,4,5” triangle or multiples of this form can be used to create a 90 degree angle for your tree row.

3. Go to the end of the field or your rope length and repeat the row spacing with markers, completing a square. Use the 3,4,5 triangle as needed.
4. Move row by row across the field marking all of the tree locations with coloured flags or stakes to identify the cultivar to be planted there. Place a different second stake or use an up-side-down paint mark near the planting site. Once the hole is augured, the stake may be lost, so the necessity of second cultivar identification marker. The colour code on the stakes or different coloured flags for each cultivar will ensure that mix-ups can’t occur. Be sure that the planters are all familiar with this.
5. Repeat this as needed to complete the whole field. 
A day or two before planting dig your holes by hand or with a 20 inch auger. Do not dig the holes deeper than the deepest roots. This will prevent sink holes later, caused by the settling of the soil that takes the tree down with it. This is a particular problem when using an auger. Mark the sites with coloured ribbon. This will be a guide to make sure that the proper tree is in the site and that the planting plan is being followed.
If your soil is lacking in organic matter, mix the planting soil with and equal volume of peat moss. Your soil test will indicate if you need to add a handful of superphosphate (0-20-0) or bone meal (0-10-0). Well-rotted compost may be used on the surface but not mixed fertilizers or manures as these can burn roots and cause harm.
Planting the Trees
As soon as your nursery stock arrives, it is important to make sure the tree roots are kept moist by spraying with water and keeping them in a plastic bag to keep the wind off and to prevent drying. If they can't be planted right away, heel them in on the north side of a shelter or keep them covered with tarps and wet straw or peat moss in a frost proof but cool building. The roots must be protected from drying winds, bright sun and below freezing temperatures at all times while they are out of the ground. 
Wet the roots before transporting them to the planting sites in a covered truck or wagon. Otherwise cover them with a thick blanket or move them in large opaque plastic bags, making sure the roots are always protected. Centre the tree and be sure it is aligned with others in the row before backfilling the soil. Do not prune the tree roots or bend them around to fit the hole, instead dig the hole bigger to accommodate the tree as needed. Make sure that you spread the roots as you plant to provide the tree with plenty of soil contact. Check that the root collar is slightly below the surface of the ground. Tamp the soil around the roots gently with your feet to remove large air pockets as you refill the hole. Water the tree liberally after planting to help settle the soil.
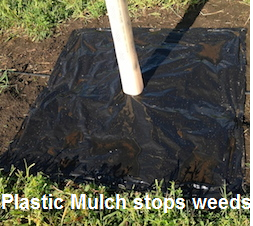
Put a mulch of wood chips around the tree about 5 cm (2 in.) thick and out about 2 m (6 ft.). This is very important for the first 3-5 years as it will keep weeds down and prevent them from hampering tree root development and growth. Alternatively, you can place a black plastic sheet held down with sod staples around the tree to keep weeds away. A tree shelter will act as a shield against spray drift, protect it from strong drying winds and guide the tree up straight, along with other benefits.
Orchard Aftercare
Weeds that find their way through the mulch can be pulled or sprayed with Roundup herbicide. Be careful not to contact any part of the tree. Check for insect damage, especially caterpillars, aphids or leafhoppers and spray accordingly. The trees are susceptible to insect damage especially leafhoppers beginning in June, particularly in the first year as they have been weakened by transplanting.
Grafted trees need to be checked for sucker sprouts that emerge from below the graft. It is especially important for those with tree shelters over them because the graft is hidden. The shelter needs to be lifted 2-3 times in the season to remove any suckers or sprouts coming from below the graft. A strong sprout can overcome the grafted top and unless it is removed, the tree will return to a rootstock.
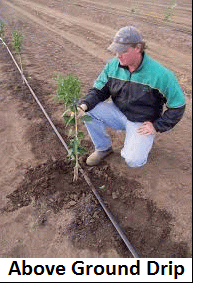
Water regularly through the first growing, or better yet set up an irrigation system to water the trees as needed. A surface drip system will do when the trees are small, followed by an underground pop-up sprinkler system as the trees grow larger or a totally underground drip water system. Irrigation is particularly important in the light sandy soils of the "tobacco belt" and Essex County in Ontario.
Soon after planting the trees, a ground cover should be established. Dwarf perennial ryegrass is ideal for this purpose as it is slow growing, less competitive with the trees and requires fewer mowings during the growing season. It is available through most farm supply outlets. Consider installing turf tires on the tractors used in the orchard. This will help to maintain a smooth surface for harvesting from the ground. Avoid travelling on the orchard floor when the ground is soft. Tile drains hep to keep the ground firm.
After the first year, apply a granular fertilizer based on your soil analysis or a 15-15-15 fertilizer can be added annually in early May. Apply to the mulch and avoid contact with the tree trunk. A handful is all that is needed in the first year, but you may need to provide your ground cover with an annual application to keep it healthy.
Some corrective pruning may be necessary in the spring of the second year, but this should be confined to pinching back the undesired growth to favour the upward growth of the main trunk or stem.
Scouting the orchard on a regular basis is important to check for concerns before they become problems. Sprays may be necessary to control insects including caterpillars, leafhoppers, aphids and other pests. Weeds and grasses should not be allowed to compromise the growth and health of the orchard. The early years are very important in establishment, tree growth and future production.
Thank you,
Ernie and Linda